
Upload Elastic Beanstalk Application using Maven
by Max Rohde,
AWS Elastic Beanstalk is well established service of the AWS cloud and can be used as a powerful platform to deploy applications in various languages. In this short tutorial, I will outline how to conveniently deploy a Tomcat application to AWS Elastic Beanstalk using the beanstalk-maven-plugin.
The following assumes that you already have a project which is configured to be deployed as WAR and provides a valid web.xml to start answering requests. If you are unsure of how to set this up, please have a look at the example project web-api-example-v2 (on GitHub).
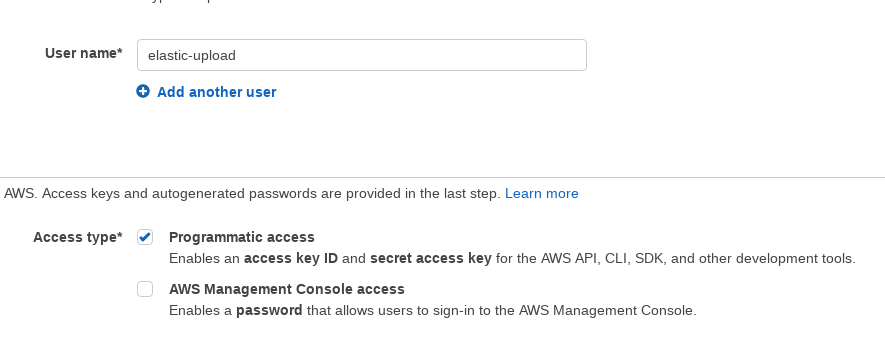
Step 1: Create IAM User
- Create a new user on IAM user AWS for programmatic access
- For Permissions, select 'Attach existing policies directly' and add the following policy
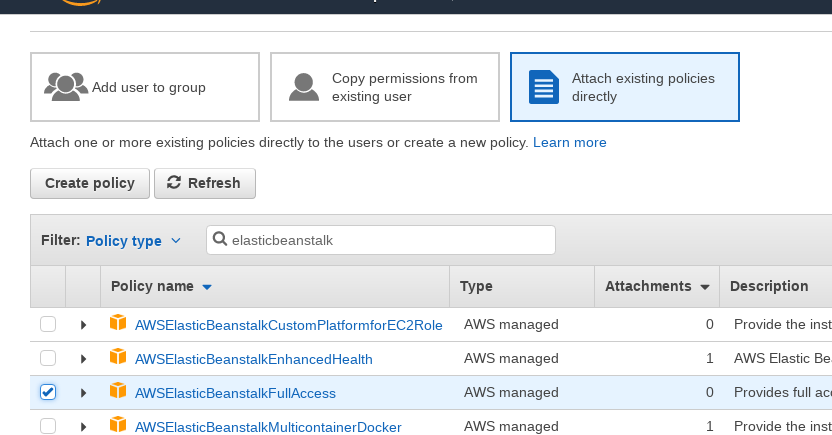
- Save the access key and secret key
Step 2: Add Server to Local Maven Configuration
- Add the following declaration in the element in your $HOME/.m2/settings.xml and provide the access key and secret key for the the user you've just created
<server>
  <id>aws.amazon.com</id>
  <username>[aws access key]</username>
  <password>[aws secret key]</password>
</server>
Step 3: Add Beanstalk Maven Plugin
- Add the beanstalk-maven-plugin to your project pom.xml
<plugin>
  <groupId>br.com.ingenieux</groupId>
  <artifactId>beanstalk-maven-plugin</artifactId>
  <version>1.5.0</version>
</plugin>
- Test your security credentials and connection to AWS
mvn beanstalk:check-availability -Dbeanstalk.cnamePrefix=test-war
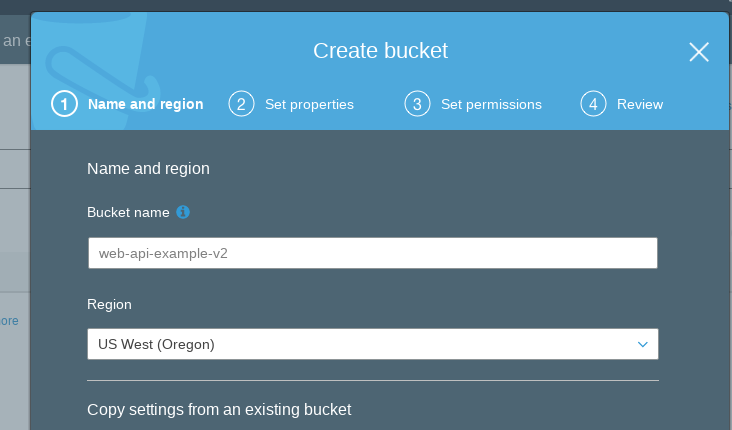
Step 4: Create S3 Bucket for Application
- Create a new S3 bucket with a name of your choice (e.g. the name of your application)
Step 5: Update Plugin Configuration
- Provide the following configuration for the beanstalk-maven-plugin
<plugin>
  <groupId>br.com.ingenieux</groupId>
  <artifactId>beanstalk-maven-plugin</artifactId>
  <version>1.5.0</version>
  <configuration>
    <applicationName>[Provide your application name]</applicationName>
    <!-- Path of the deployed application: cnamePrefix.us-east-1.elasticbeanstalk.com -->
    <cnamePrefix>${project.artifactId}</cnamePrefix>
    <environmentName>devenv</environmentName>
    <environmentRef>devenv</environmentRef>
    <solutionStack>64bit Amazon Linux 2015.03 v1.4.5 running Tomcat 8 Java 8</solutionStack>

    <!-- Bucket name here equal to artifactId - but this is not guaranteed      to be available, so therefore the bucket name is given statically -->
    <s3Bucket>[Provide your S3 bucket name]</s3Bucket>
    <s3Key>${project.artifactId}/${project.build.finalName}-${maven.build.timestamp}.war</s3Key>
    <versionLabel>${project.version}</versionLabel>
  </configuration>
</plugin>
Step 6: Deploy project
- Run the following to upload the project to the S3 bucket:
mvn beanstalk:upload-source-bundle
- If this succeeds, deploy the application
mvn beanstalk:upload-source-bundle beanstalk:create-application-version beanstalk:create-environment
Your application should now be deployed to Elastic Beanstalk. It will be available under
cname.us-east-1.elasticbeanstalk.com
Where cname is the cname you have specified in step 5
Good To Know
- To find out, which solution stacks are available (to define the solutionStack environment variable), simply run
mvn beanstalk:list-stacks