Automate Database Relations in Notion with AI
Step-by-step walkthrough showing how to automate a Notion Relation between two databases using the AI Auto Relation integration.
AI Auto Relation is a Notion integration that automates a relation property in Notion using AI.
This article provides a detailed step-by-step walkthrough of how to create your first AI automated relation.
Here is an overview of what we'll cover:
- Step 1: Sign Up for AI Auto Relation
- Step 2: Link AI Auto Relation with Your Notion Workspace
- Interlude: Notion Databases & Relations
- Step 3: Design your Databases
- Step 4: Create and Share Your Databases
- Step 5: Define AI Auto Relation
- Step 6: Additional Configuration
- Step 7: Apply and Improve
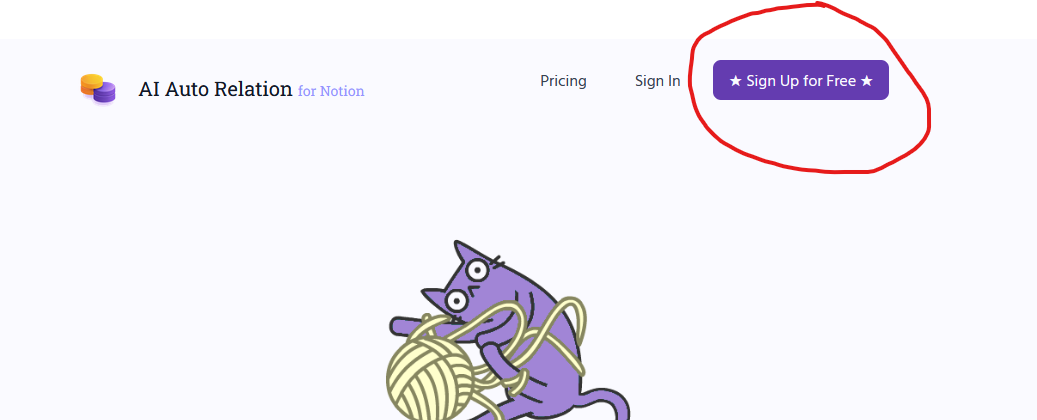
Step 1: Sign Up for AI Auto Relation
If you haven't done so already, simply head to the AI Auto Relation website and create a new free account.
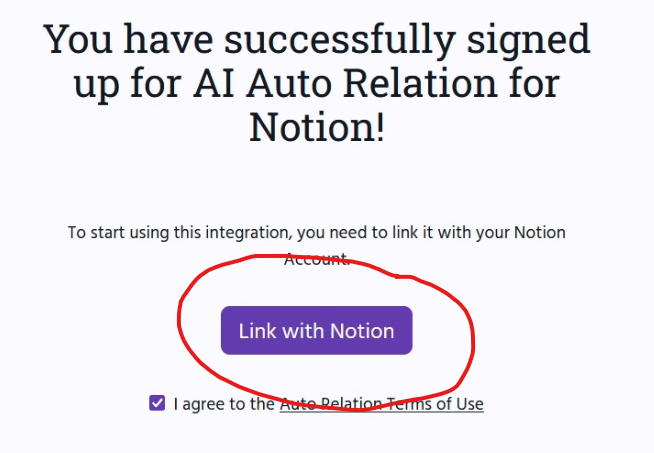
Step 2: Link AI Auto Relation with Your Notion Workspace
After you have signed up, you'll need to give the AI Auto Relation integration access to your Notion Workspace and Databases.
AI Auto Relation will prompt you to link the integration with Notion once you have signed up.
Interlude: Notion Databases & Relations
Since AI Auto Relation automates the updating of a relation between two Notion databases, it is critical to have a good understanding of both databases and relations.
Thankfully, there is some excellent official documentation from Notion available if you are looking for a refresher:
Step 3: Think About Which Databases You Want to Connect
This is where the fun starts!
You get to wield the magic of databases, relations and AI to bring some order into your Notion madness.
To get started, you'll need two databases that you want to create a relation between: a source database and a target database. AI Auto Relation will create a one way relation between the two databases.
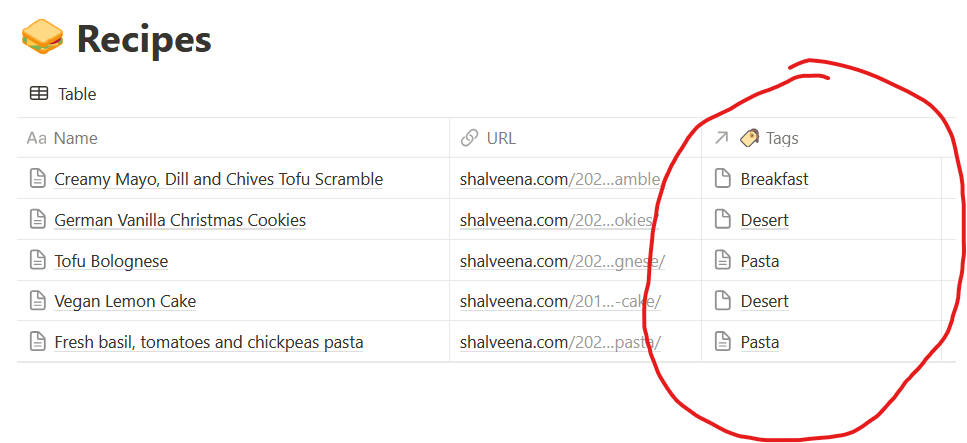
For example, let's say you have a collection of recipes. The source database would be the one containing the recipes.
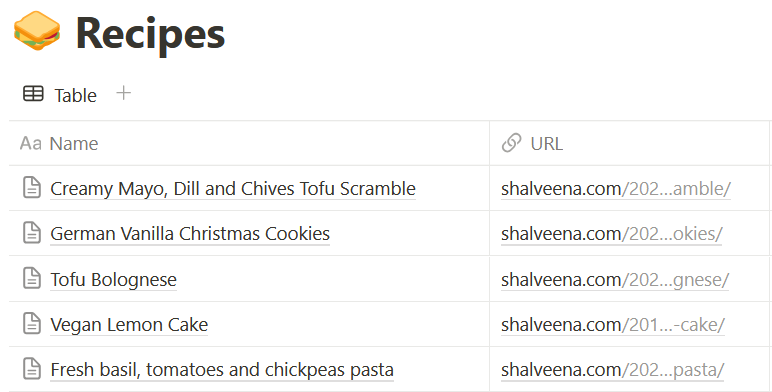
The target database would be the database containing the categories of recipes (breakfast, lunch, dinner, desert etc) and a description for each category.
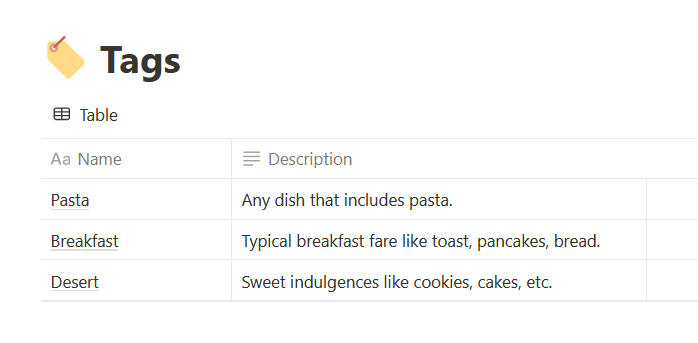
Once you set up the Auto Relation, AI Auto Relation will automatically determine which category applies to each recipe and automatically add the categories to each recipe.
Here some other examples of database connections for your inspiration:
| Source Database | Relation Property | Target Database |
|---|---|---|
| Tasks | Project | Projects |
| Links | Belongs To | Categories |
| Problem | Solves | Solutions |
| Invoice | Issued To | Customer |
| Exercise | Focsses On | Body Part |
Got an idea for what databases you want to use yet? If not, I am more than happy to have a chat, just reach out!
Step 4: Create and Share Your Databases
If the databases you want to use as source database and target database do not exist yet, create them.
You'll need to give the AI Auto Relation integration access to your databases. I've written a separate guide on how to do that if you aren't sure how to share a database with an integration: How to Share a Notion Page with a Connection/Integration.
It's probably also good to create some pages in both your source and target database at this point. The next steps will still work without it, but the results will not be very interesting since there will be nothing for the integration to do until there is data in the databases.
Step 5: Define AI Auto Relation
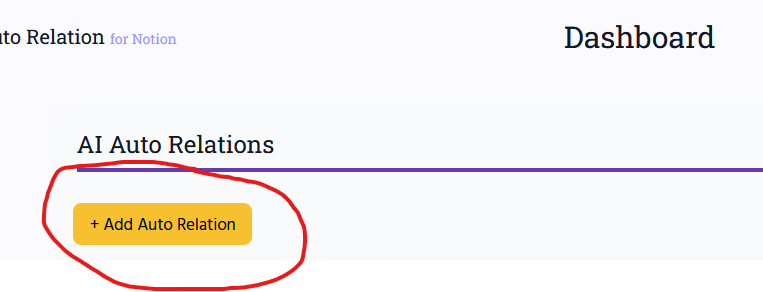
Now we can head to the AI Auto Relation dashboard.
Here, click on the + Add Auto Relation button.
Please see the following article for detailed information on everything you need to do to create your first relation:
Creating Your First AI Automated Relation in Notion
Step 7: Apply and Improve
After creating the Auto Relation, the status of the automation will be displayed on the dashboard:
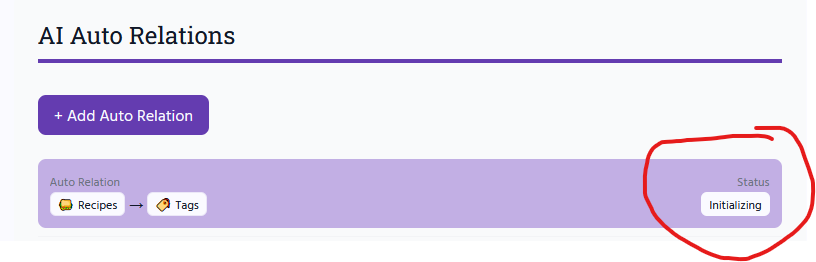
It may take a few minutes for most reasonably sized databases to be processed. You will see the relation property get updated in Notion page-by-page as the integration processes your pages.
For larger databases, AI Auto Relation will provide an indication of how many pages it still needs to process.
If any errors occur, they will also be displayed here.
Just like HI (Human Intelligence), AI is not without its faults. Thus, it may take a bit of experimentation for your Auto Relation to work the way you'd like it to.
Here are some levers you can use:
- Provide clear descriptions for your target pages to help AI determine if they match a source page or not. Here an example of some categories I use to categorise SaaS and software tools:

- Provide matching instructions in your target pages for how AI should match it to source pages. Below are the instructions I provide to help AI match tasks to my Notion Auto Relation project:
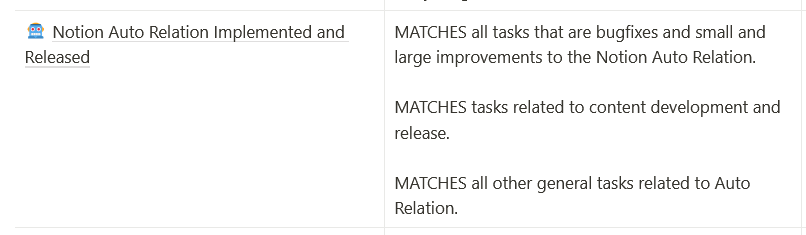
Bonus tip: Sometimes it also helps also to specify what 'DOES NOT MATCH'.
- Don't expect magic! AI cannot guess your intentions. Try to remove any ambiguity in your descriptions.
- Use the smarter GPT-4o model. You can edit your Auto Relation to use this model after purchasing credits. GPT-4o allows for a much larger margin for error in providing your instructions. You can always switch back to GTP-4o mini after improving instructions. I use GPT-4o mini for all my Auto Relations and it works with 95%+ accuracy.
- Use AI to help with your descriptions. Heading to ChatGPT and asking it to review and improve descriptions in order to clarify them can often work wonders.
I hope this guide enabled you to create your first AI Auto Relation.
If not, please reach out, I am happy to help!
 Follow