Create a Notion database for your Voice Memos
Start with our template and then have it configure automatically.
Just signed up for Voice Keeper and looking to set up a Notion database for your voice memos?
You are at the right place!
While there are many ways to do it, I'll share with you how I've set it up – chances are that'll work for you as well, at least to get started!
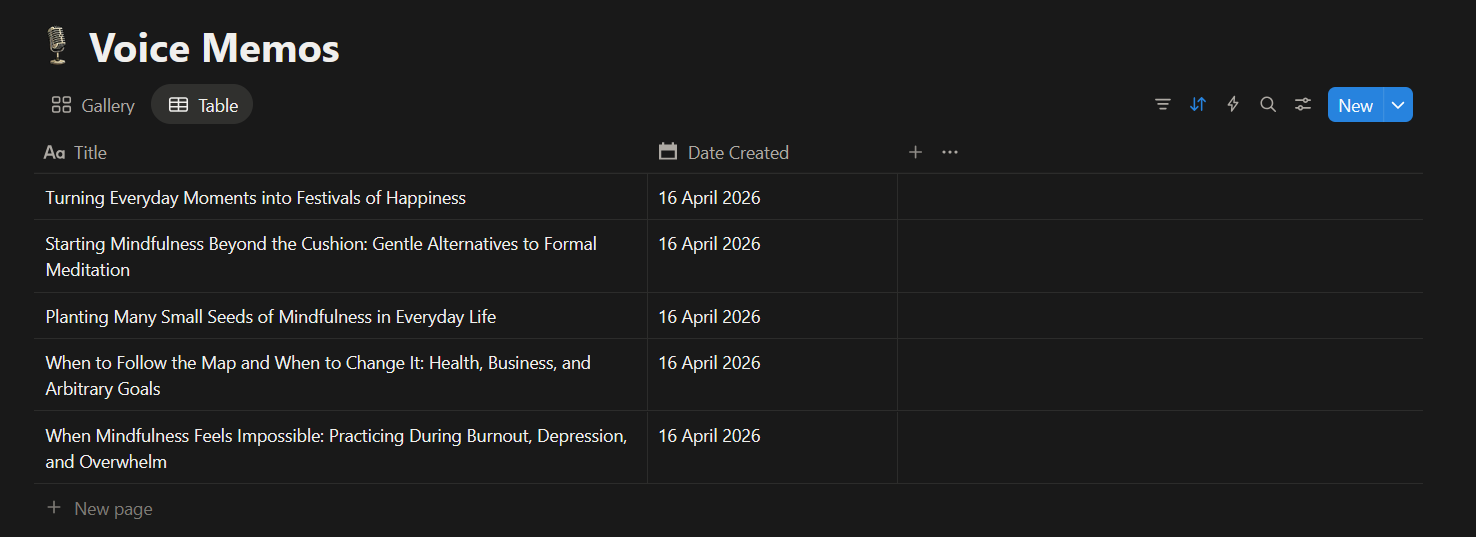
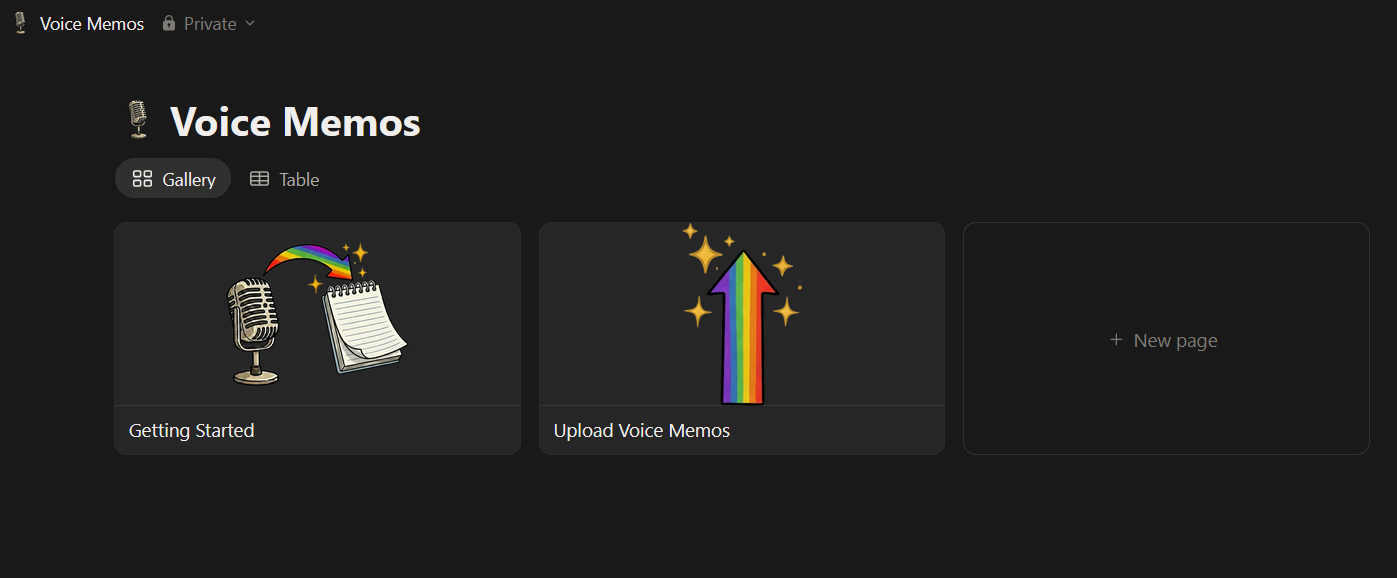
I have a database with two views – one for a visual gallery view and another one with a more structured table view:
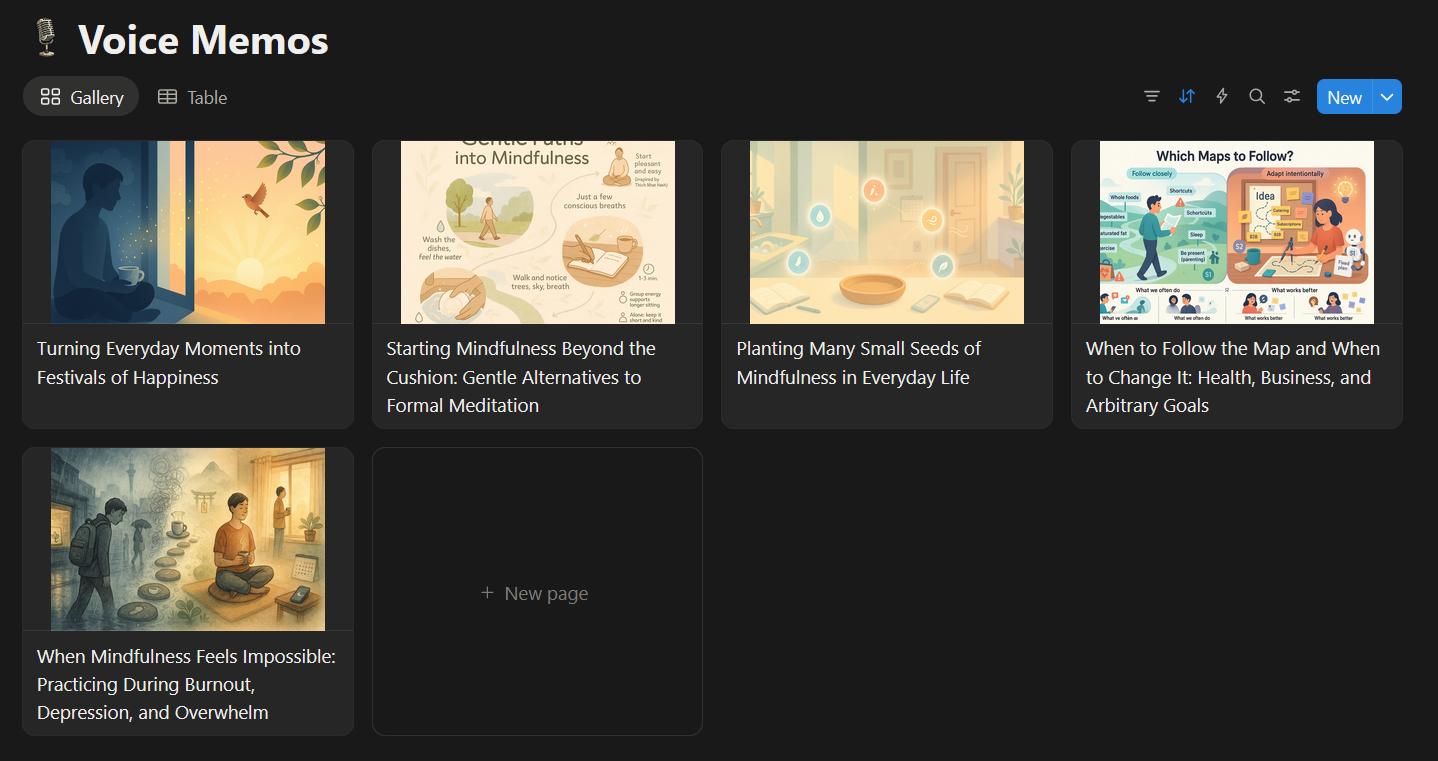
You can set up the same for yourself in three simple steps:
Step 1: Duplicate template
Start by opening the following template:
Then click the Duplicate button on the top righthand side:

Next select the workspace you want to have this template put in and click [Add to Private]

Make sure this is the same workspace that you linked Voice Keeper to. If you cannot remember, no worries, we can link Voice Keeper to the correct workspace later.
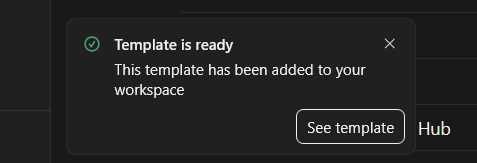
When all goes well, you should receive the following notification from Notion. You can simply click the [See template] button here:
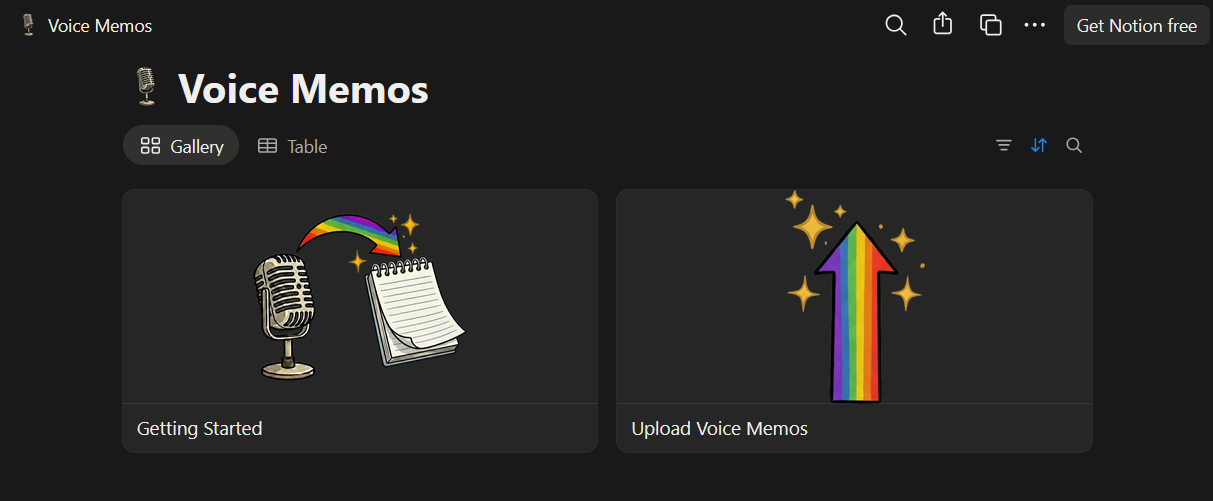
And that should bring you to the Voice Memos database:
Step 2: Make sure Voice Keeper has access to the database
The last step we need to do is ensure that Voice Keeper has access to this database.
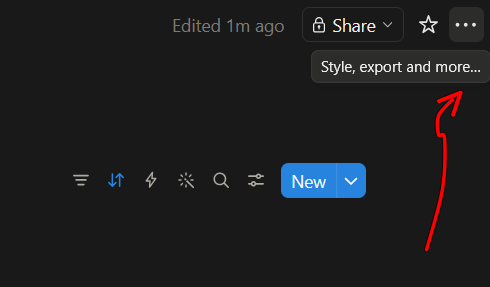
For this, first click the [...] button at the top righthand side of your Notion screen:
Then go down and hover over the Connections item.
If you see 'Voice Keeper' under Active connections, we are all good.
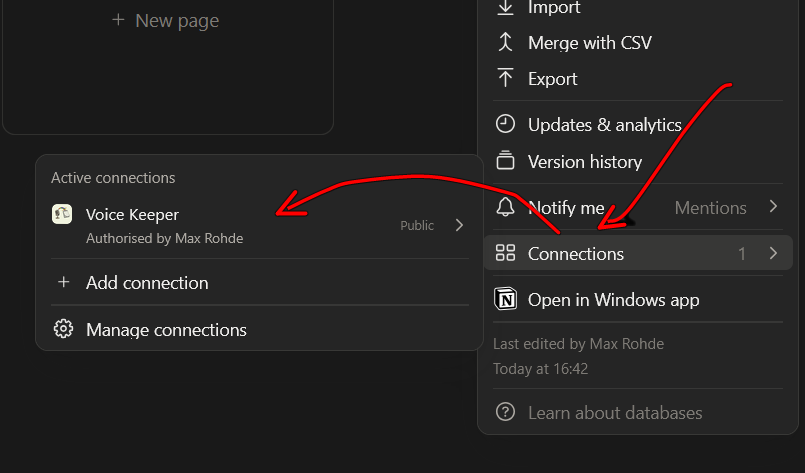
If that's the case for you, please skip to the next section 'Step 3: Link database'.
If you don't see Voice Keeper there, enter 'Voice Keeper' into the search bar:
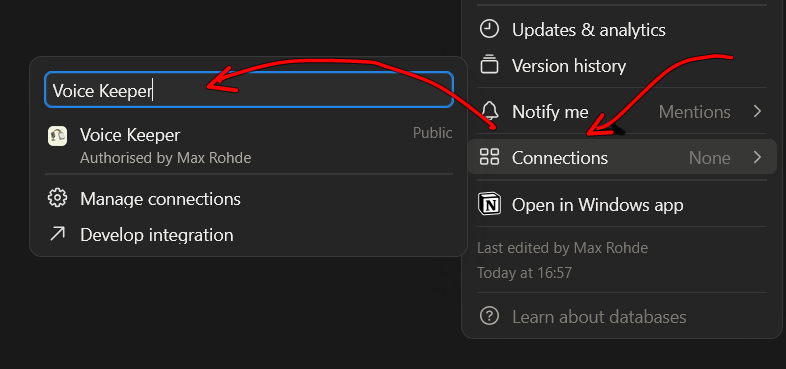
Then click on Voice Keeper and you're all set.
If you still don't see Voice Keeper, you may have linked it to the wrong workspace. Head back to voice-keeper.com/app, log in and double check the workspace name.

If it doesn't look right, click the [Change Workspace] button to link another workspace.
One last note of caution – even if the workspace name looks right, it may not be. It's possible in Notion to create multiple workspaces with the same name. So, if you did that, verify you got the right one selected here.
Step 3: Link database
Head back to the Voice Keeper dashboard.
If all went well, you should see the Voice Memos database listed as 'ready to automate'.
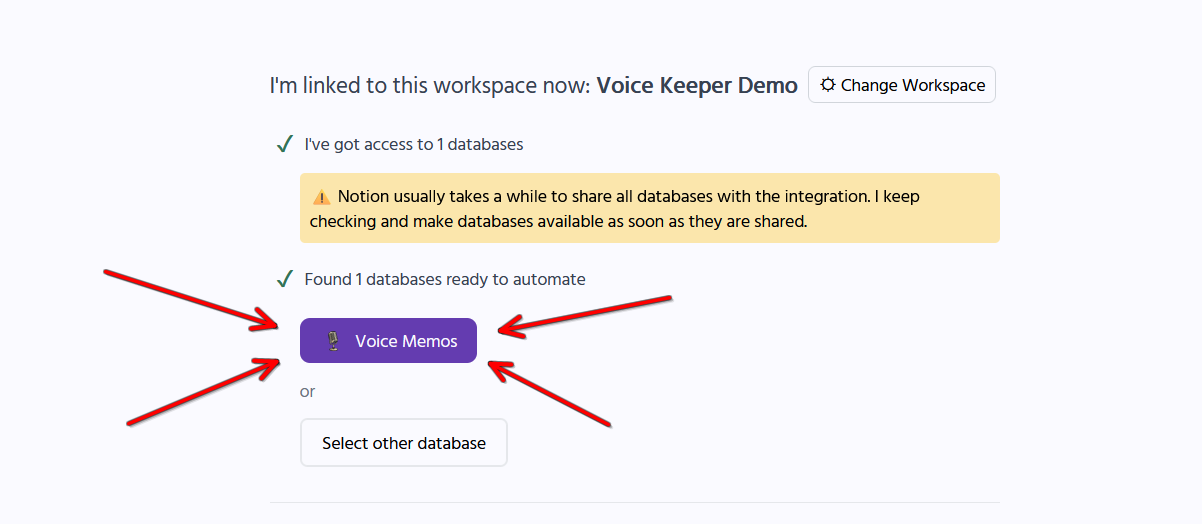
If you don't see it, please double check you have shared the database with the integration and are using the correct workspace. And don't hesitate to get in touch – we're always happy to help.
Otherwise, it's easy from here. Just click on [Voice Memos].
After a short while, your automation will be set up and you'll then be redirected to the status page:
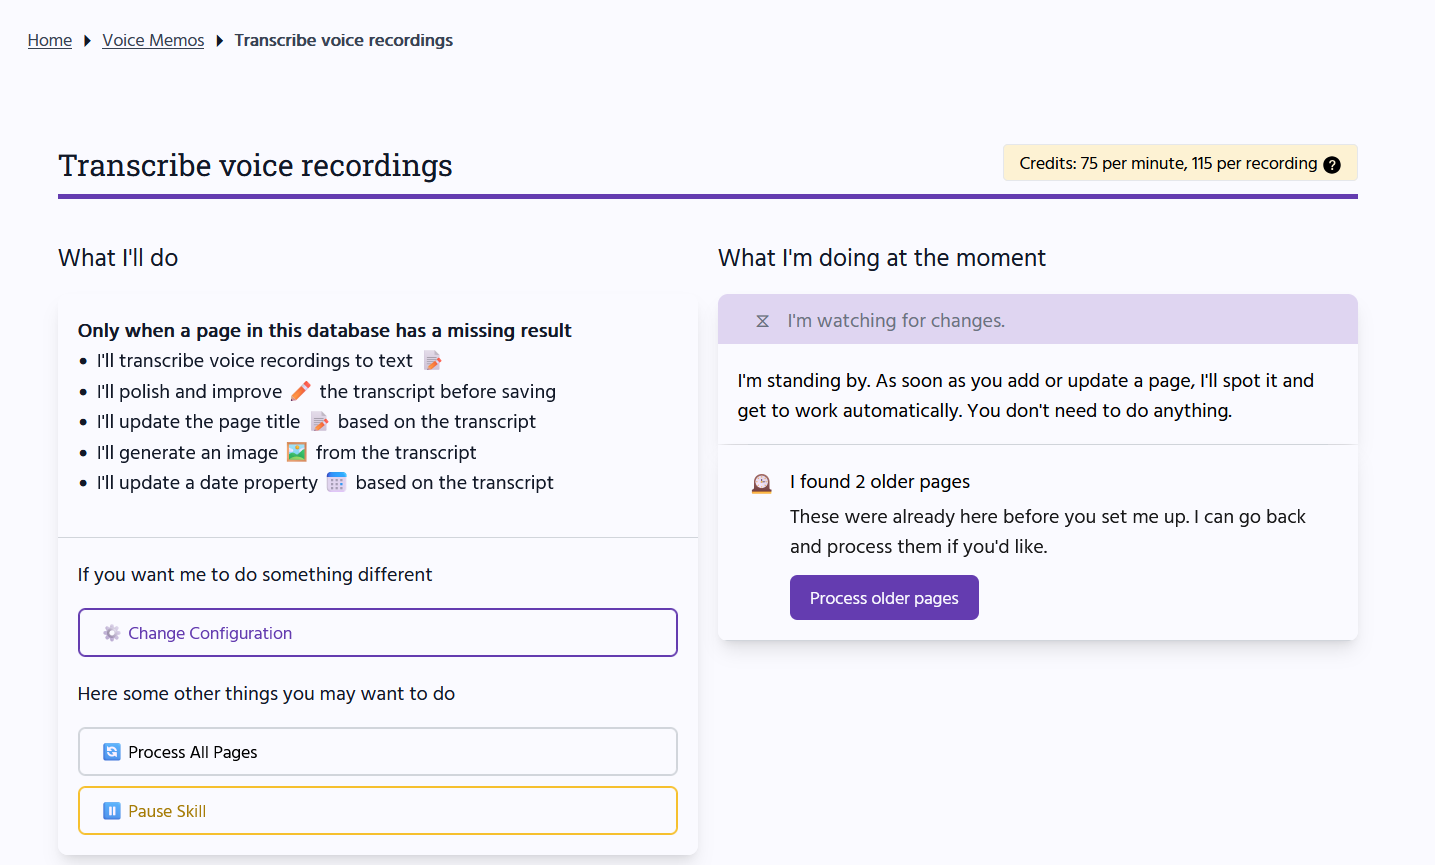
Next, add your voice memos to this database and let Voice Keeper do its magic.
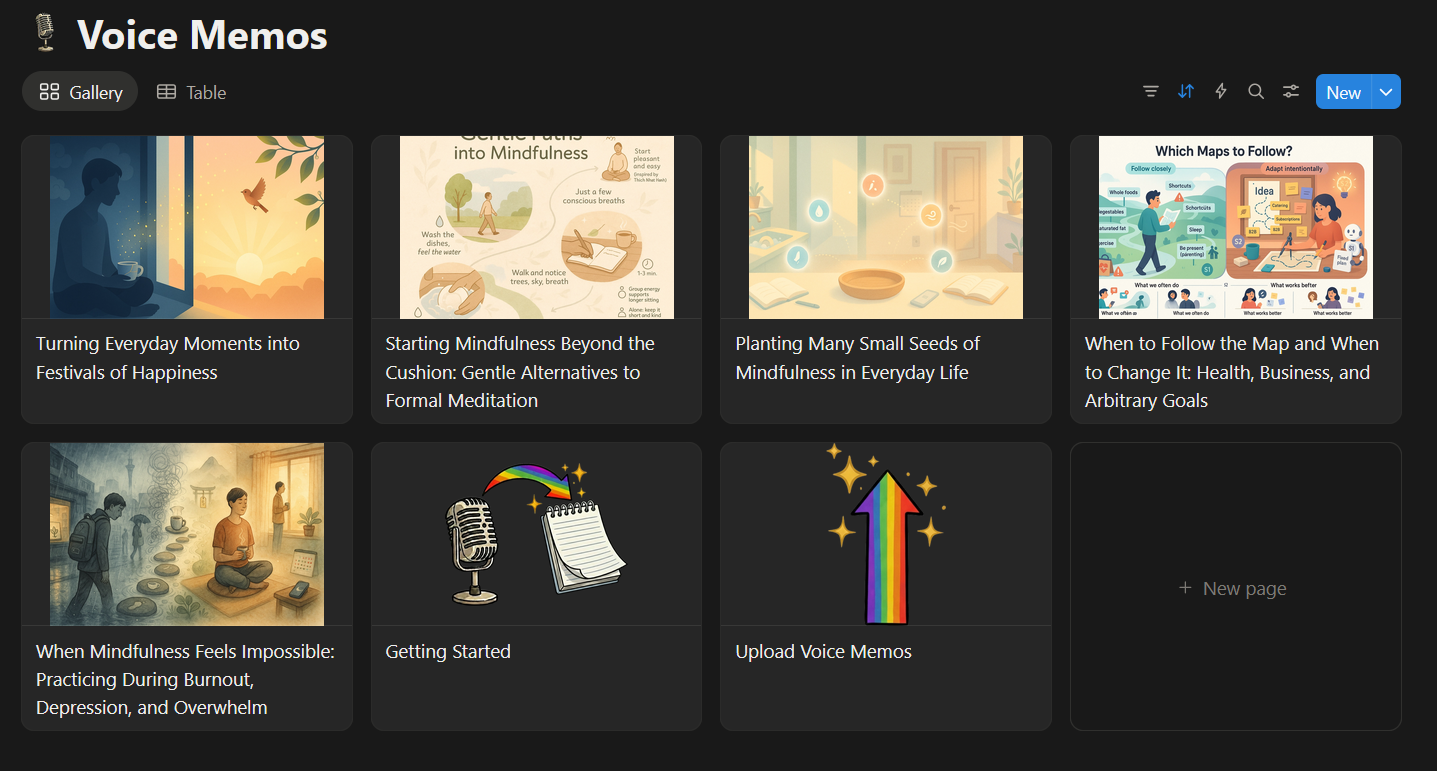
You can safely delete the 'Getting Started' and 'Upload Voice Memos' pages that the template comes with.
What's next?
Once voice memos start rolling in, even this nicely organized database can become a bit unwieldy.
For this I have set up the Commonplace Ecosystem Notion template alongside the Voice Memos database to keep my Notion workspace organized in the long run.
I also take notes on paper. For processing these, I use the Ink Lift extension. All the notes from there then also go into the ecosystem.
If you have any comments, questions, or suggestions, please get in touch.
 Follow